How to Shuck Oysters: The Complete Step-by-Step Guide
Shucking oysters—opening them to reveal their pristine meat—is one of those culinary skills that appears intimidating until you understand the fundamentals. Whether you're preparing oysters for the first time or refining technique you've learned elsewhere, mastering the art of shucking transforms your oyster experience from passive consumption to active participation in a time-honored gastronomic tradition.
This comprehensive guide demystifies oyster shucking, breaking down the process into manageable steps while addressing common challenges and building the confidence you need to tackle oysters with ease. By the end, you'll understand not just how to open an oyster, but why certain techniques work, how to minimize the risk of injury, and how to maintain the quality and flavour of the oyster throughout the process.
Understanding Oyster Anatomy
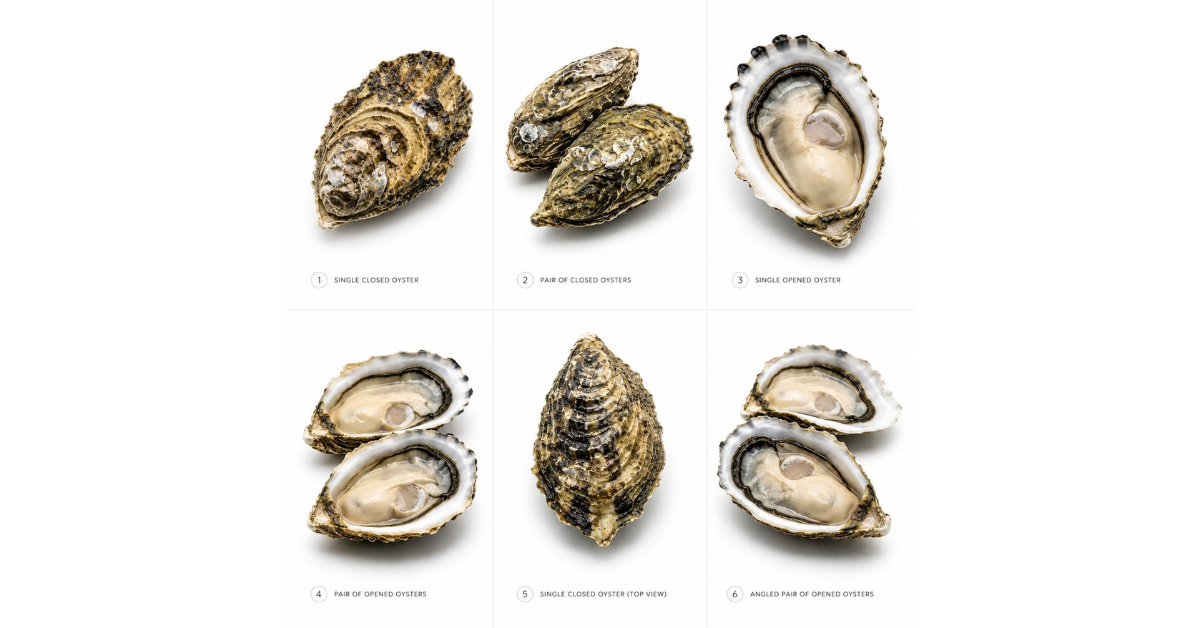
Before attempting to shuck an oyster, it's valuable to understand its structure. An oyster consists of two shells connected by a powerful adductor muscle. Understanding this anatomy clarifies why shucking works the way it does.
Shell Structure
Oysters have a deep (cupped) shell on the bottom and a flatter shell on top. The hinged end, where the shells connect, is narrower than the opposite end. The adductor muscle—the target of the shucking process—runs horizontally through the center of the oyster, connecting both shells.
The Adductor Muscle
This powerful muscle is responsible for keeping the oyster shells clamped shut. Shucking essentially involves:
- Entering the space between shells
- Severing the upper muscle attachment
- Severing the lower muscle attachment
- Removing the top shell
- Freeing the oyster meat from the bottom shell
Understanding this anatomy helps you visualize the process and appreciate why certain techniques prove more effective than others.
Essential Equipment: Choosing the Right Shucking Knife
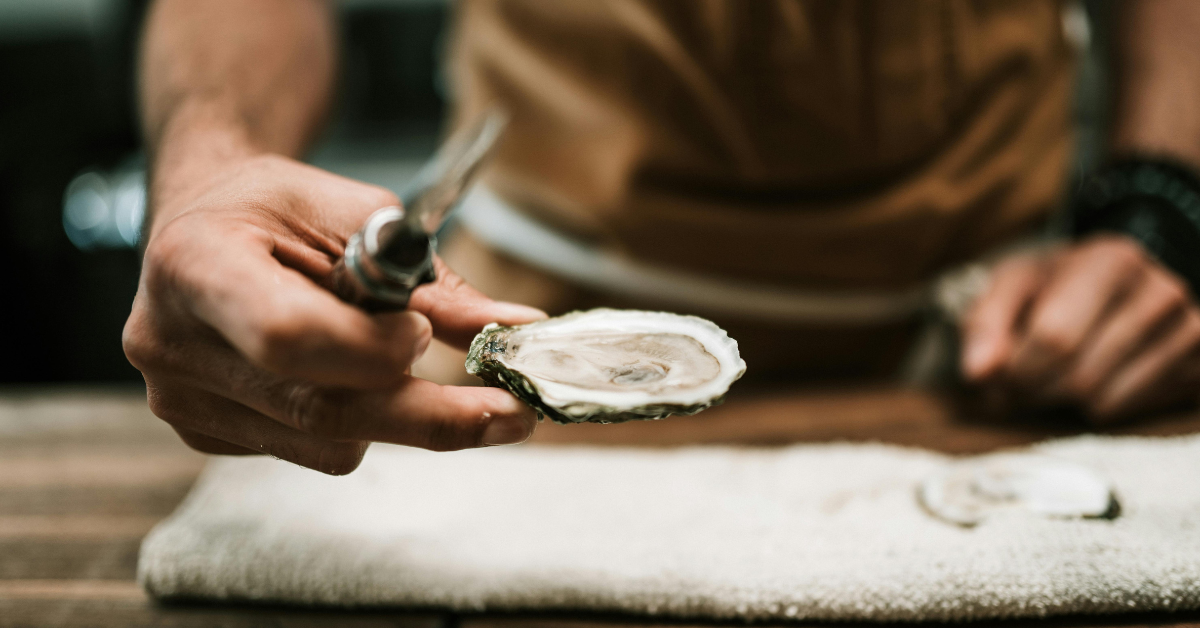
The right tool makes all the difference in shucking. An oyster knife is not optional—using improper implements can damage oysters and create safety hazards.
Oyster Knife Characteristics
A proper oyster knife features:
- A short blade (typically 1.5-2 inches)
- A thick, sturdy blade that won't flex under pressure
- A blunt or rounded tip (never sharp and pointed)
- A comfortable handle that fits securely in your hand
- Good weight distribution for leverage without excessive force
The blunt tip is crucial—it allows you to wedge between the shells without piercing your hand if the knife slips.
Additional Tools and Protective Equipment
- Oyster glove or thick cloth: Essential for holding oysters safely. Oyster shells are sharp and can cause significant cuts. Many professionals use specialized mesh gloves designed for oyster handling
- Folded towel: Acts as a non-slip surface for holding oysters and protects your hand
- Small bowl or plate: Catches oyster liquor (the briny liquid inside)
- Brush: Optional but useful for cleaning oyster shells before serving
- Lemon and small fork: Traditional accompaniments for serving
Never attempt to shuck oysters with kitchen knives, pocket knives, or other improper implements. The risk of serious injury far outweighs any convenience.
Pre-Shucking Preparation
Proper preparation sets the foundation for successful shucking.
Selecting and Inspecting Oysters
Begin by choosing firm, tightly closed oysters, or those that close immediately when tapped. Gaping oysters that don't respond to stimuli are dead and should be discarded. Inspect each oyster for:
- Closed shells (indicating viability)
- Clean, briny smell (never fishy or ammonia-like)
- No visible cracks or damage to shells
- Good weight (dense oysters indicate full meat content)
Chilling for Easier Shucking
Cold oysters are easier to shuck than warm ones. Refrigerate oysters for at least 30 minutes before shucking. The cold causes the adductor muscle to relax slightly, making severance easier. Many professionals place oysters directly on ice immediately before shucking.
Cleaning the Exterior
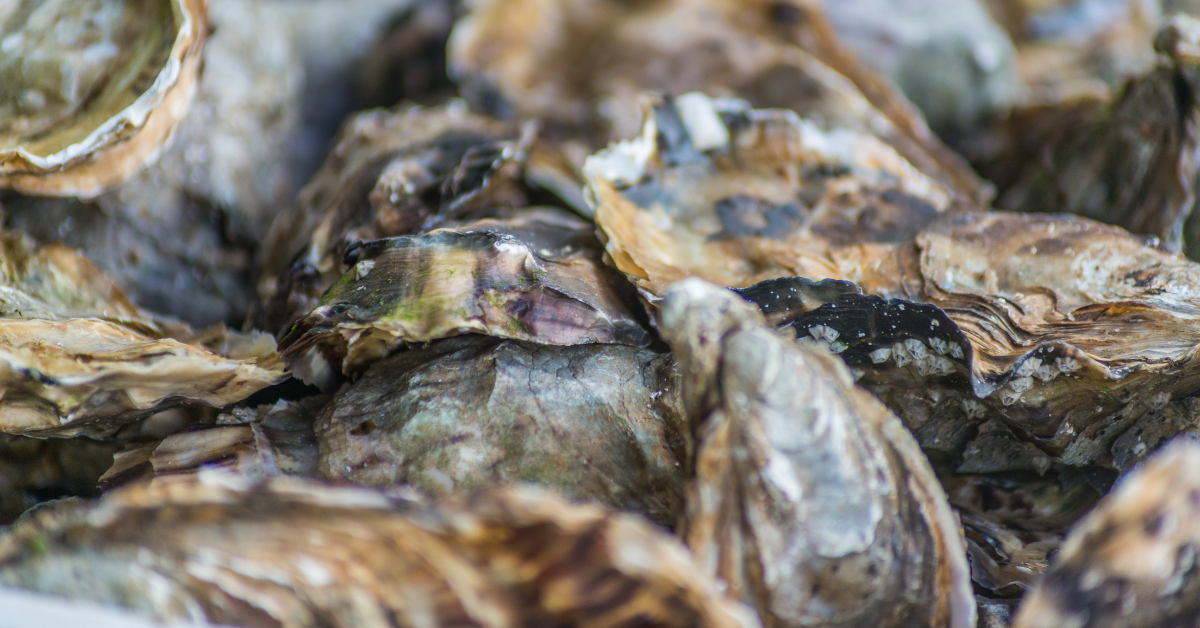
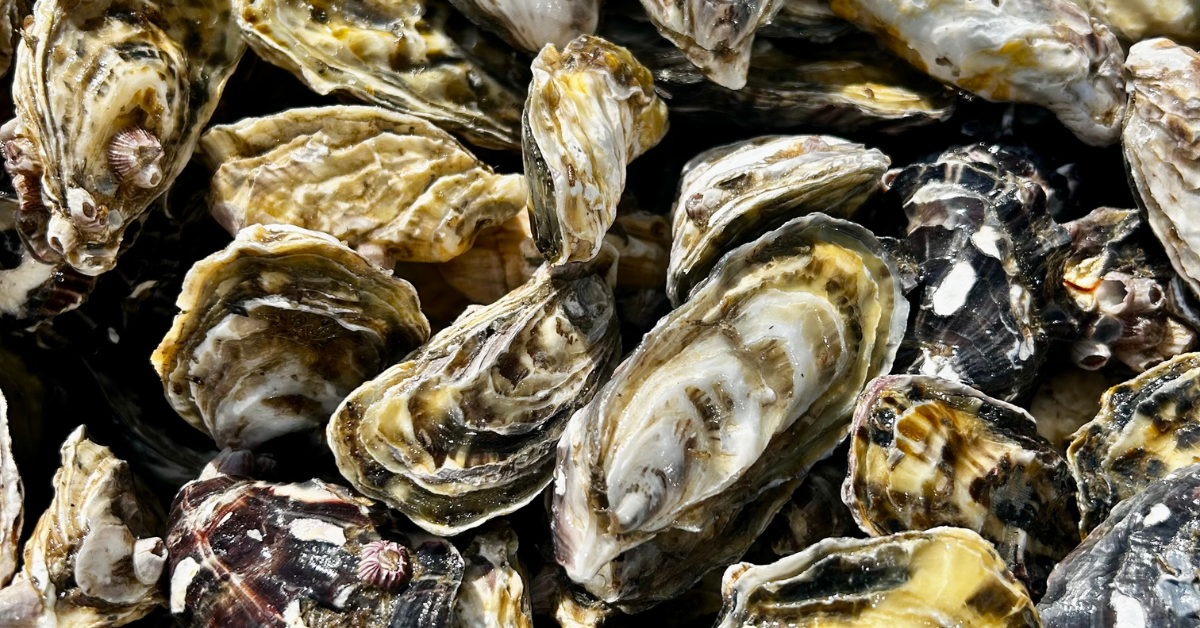
Gently rinse oyster shells under cold water, using a brush to remove debris and sediment. Dry completely before shucking—a slippery oyster is a dangerous oyster. Don't use soap or bleach; cold water is sufficient.
The Complete Shucking Process: Step-by-Step
Now that you understand anatomy and have proper equipment, let's walk through the actual shucking process.
Step 1: Secure the Oyster Properly
This is the most critical safety consideration. A slipping oyster has caused countless hand injuries.
Positioning
- Wrap your non-knife hand with a thick cloth or oyster glove
- Hold the oyster firmly (but not so tight that you crush the shell) with the cupped shell in your palm facing down
- Position the hinge end (narrow end) toward you
- Keep your fingers wrapped around the oyster, away from the opening
- Rest the oyster on a folded towel for additional stability
- Keep your knife hand relaxed and ready
Grip Pressure
You need enough pressure to prevent slipping, but excessive force wastes energy and increases hand fatigue. Practice finding the sweet spot—firm enough to prevent movement, gentle enough to work for multiple oysters without strain.
Step 2: Locate and Exploit the Hinge
The hinge is your entry point. It's where the two shells meet at the narrow end of the oyster.
Finding the Sweet Spot
Feel along the hinge with your finger to locate where the shells meet most tightly. This is where you'll insert the knife. The exact location varies slightly from oyster to oyster—some have a more pronounced hinge gap than others.
Initial Knife Insertion
- Hold the oyster knife with a firm but relaxed grip
- Position the knife at the hinge, perpendicular to the oyster
- Use gentle pressure and a slight twisting motion to work the knife tip into the hinge gap
- Never force the knife—it should enter relatively easily
- Once the tip is positioned, you shouldn't be able to see the blade (it should be hidden between the shells)
The twisting motion is key—a rocking motion parallel to the hinge gradually widens the gap, allowing deeper penetration without forcing.
Step 3: Sever the Upper Muscle
Once the knife is positioned at the hinge, your goal is to separate the upper shell by cutting the muscle that holds it closed.
The Cutting Motion
- Maintain firm pressure against the upper shell without twisting forcefully
- Locate the upper muscle (running horizontally through the center)
- Slide the knife along the inside of the upper shell, moving from the hinge toward the wider end
- The blade should separate the upper muscle from the upper shell
- You'll feel the upper shell become loose—this indicates successful severance
Removing the Upper Shell
- Once the upper muscle is severed, gently pry the upper shell upward and away
- Discard the upper shell carefully (it's sharp)
- Be cautious—some oyster liquor may spill, and the remaining muscle still connects the lower shell
Step 4: Clean Out Shell Fragments
Before proceeding, remove any shell fragments that may have broken off during the process.
Inspection and Cleaning
- Look for broken shell pieces in the remaining oyster meat and briny liquid
- Use a small fork or brush to gently remove any visible fragments
- Be gentle—aggressive cleaning damages the delicate oyster meat
This step is often overlooked but improves the eating experience considerably. There's nothing pleasant about biting into an oyster only to encounter shell shards.
Step 5: Sever the Lower Muscle
The oyster is nearly free, but the lower adductor muscle still connects the meat to the lower shell.
Locating and Cutting
- Run your knife blade along the inside bottom of the lower shell
- Locate the lower muscle attachment (typically near where the upper muscle was located)
- Slide the knife horizontally, severing this muscle attachment
- The oyster meat should now be completely free
Verification
Gently wiggle the oyster meat with your fork. It should move freely. If you encounter resistance, you may have missed the muscle attachment—repeat the cutting motion to ensure complete severance.
Step 6: Final Inspection and Presentation
You've successfully shucked an oyster. Final touches ensure quality and presentation.
One Last Check
- Inspect for any remaining shell fragments
- Verify the oyster smells fresh and briny
- Check that the oyster meat is moist and glistening
Presentation
- If desired, loosen the oyster meat from the lower shell completely (some prefer it slightly attached for authentic presentation)
- Nestle the oyster on a bed of ice or crushed ice
- The oyster is now ready for serving
Troubleshooting Common Shucking Challenges
Even experienced shuckers encounter problems. Here's how to address common issues.
The Knife Won't Enter the Hinge
This typically indicates:
- The oyster needs more chilling (muscle is too tense)
- The knife angle is incorrect (should be nearly parallel to the shell surface)
- Excessive force is being applied (work more gently and allow the twisting motion to do the work)
Solution: Set the oyster aside, chill further, and try again with a gentler approach.
The Oyster Shatters or Breaks
This usually means:
- Excessive force was applied
- The oyster was extremely cold (allowing it to warm 5 minutes helps)
- The knife was forced rather than worked gradually into the hinge
Solution: Work more gently, use proper technique, and practice. Shattered oysters are still edible if no debris enters the meat.
Shell Fragments in the Meat
This is common and easily addressed:
- Use a small fork to probe and remove visible fragments
- Rinse gently with cold water if necessary
- Inspect visually before serving
Excessive Muscle Resistance
If the upper muscle resists severance:
- The oyster may need more chilling
- Work the knife more carefully along the muscle attachment
- Use the twisting motion rather than forcing the blade
Hand Fatigue or Pain
If your hand tires or hurts while shucking:
- Your grip is too tight (relax slightly)
- The knife is dull (use a sharp oyster knife)
- You're applying unnecessary force (let the knife and technique do the work)
Advanced Technique: Improving Speed and Efficiency
Once you've mastered basic shucking, you can refine technique for greater efficiency.
Developing Muscle Memory
Shucking is a skill that improves dramatically with practice. Your hands develop the feel for proper knife angle, pressure, and motion. Most people find that after shucking 20-30 oysters, the process becomes noticeably easier and faster.
Optimizing Your Workspace
- Organize all tools within arm's reach
- Use a dedicated shucking surface with good lighting
- Keep your towel, knife, and glove within immediate reach
- Have a bowl ready to catch shells and liquor
Batch Shucking for Entertaining
When preparing multiple oysters for guests:
- Shuck all oysters before serving (prevents mid-meal delays)
- Arrange shucked oysters on ice on a serving platter
- Provide oyster liquor separately for those who prefer it served aside
- Arrange lemon wedges and sauces around the platter
Safety Considerations and Injury Prevention
Oyster shucking does carry injury risk, but proper technique and equipment minimize this considerably.
Common Injuries and Prevention
Knife slips: Always grip the oyster firmly and maintain control of the knife. Never let the oyster move while the knife is positioned between shells.
Hand cuts: Always wear protective gloves or cloth wrapping. Your holding hand should never be in the path of the knife blade.
Shell cuts: Oyster shells are sharp. Handle carefully, dispose of upper shells safely, and be cautious when handling the lower shell before serving.
Muscular strain: Take breaks if your hand or forearm fatigues. Forcing the process when tired increases injury risk.
First Aid
Minor cuts from oyster shells or knife slips should be:
- Rinsed immediately with cold water
- Cleaned with soap and water
- Covered with a bandage if bleeding
- Monitored for signs of infection
If you experience significant bleeding or a deep cut, seek medical attention.
From Shucking to Serving: Creating the Perfect Oyster Experience
Once shucked, oysters deserve proper serving and enjoyment.
Temperature and Timing
- Serve oysters within 15 minutes of shucking
- Serve on a bed of crushed or cubed ice
- The ice keeps oysters cold without direct contact that might mask flavour
- Remove oysters from refrigeration 10 minutes before serving if they've been very cold
Accompaniments
Traditional oyster accompaniments include:
- Fresh lemon wedges (squeeze over oysters before eating)
- Mignonette sauce (classic vinegar-based preparation)
- Hot sauce or cocktail sauce (for those preferring more flavour)
- Fresh horseradish
- Oyster crackers or bread
Many oyster enthusiasts prefer their oysters naked—served with only ice and lemon—allowing the pure, briny oyster flavour to shine.
The Eating Experience
- Lift the oyster shell to your lips
- Slurp gently, allowing the oyster and its liquor to enter your mouth together
- Chew slowly—savor the subtle flavours and textures
- The oyster should be tender with a slightly briny finish
Practice Makes Perfect
Shucking proficiency comes through practice. Your first oysters may require 5-10 minutes per oyster. With practice, you'll shuck 8-12 oysters in 10 minutes—still mindful and respectful of the process but noticeably more efficient.
Each oyster teaches you something—which knife angles work best for which shell shapes, how firmly to hold for stability without waste, where the muscles typically attach for different oyster sizes and types.
Ready to Master the Oyster?
Order fresh oysters to practice your shucking skills. Our premium oysters provide ideal practice material—clean shells, good muscle definition, and the quality that makes shucking worthwhile.
Order Our Fresh Oysters and begin your shucking journey. We offer Medium, Large, and XL oysters—choose Medium for practice and Large or XL when you're ready for more substantial rewards.
Need guidance? Our detailed resources and video guides walk you through every step. Many customers report that shucking oysters themselves transforms the entire experience, deepening their appreciation for this remarkable food.
Conclusion
Shucking oysters is a learnable skill that, once mastered, transforms your entire oyster experience. The process moves oyster consumption from passive to active participation—you become part of the story, connecting with a culinary tradition stretching back centuries. Beyond the practical benefit of accessing shucked oysters without additional cost, shucking provides connection to the food, appreciation for its complexity, and the quiet satisfaction that comes with mastering a genuine culinary skill. With proper equipment, technique, and practice, you'll soon be shucking oysters with confidence and speed, impressing guests and deepening your own enjoyment of one of life's finest delicacies.